Salvage-experiment
Contents
Solar Hot Water Panel Test Goal
We want to determine the viability of reusing a salvaged solar hot water unit. To accomplish our goal, we will build a basic heat bank and closed loop system with the salvaged panel, and then determine whether we are gathering sufficient thermal energy.
Experimental Solar Hot Water System Supplies
- Purchased
- 12v Ag Sprayer Pump Product Information
- 2 Red River 50ft. farm hoses guarentteed up to 180F
- Teflon Pipe Tape
- lots of pipe/hose connectors
- flux
- 25 ft 10-2# outdoor electrical wire
- 30ft. soft copper tubing
- nails and bolts for PV stand
- self-liting butane torch
- 12v connection cable for pump
- metal juction box and wire nuts
- Acquired
- scrap lumber
- duct tape
- 30 gallon black plastic barrell
- various tools
- 64 Watt solar panel
- solar hot water heating unit
Setting Up a Test of the Heating Unit
- The solar hot water unit was acquired from its secret hiding place at Charlie's farm.
http://wiki.cs.earlham.edu/images/6/6e/Unit_retrieval.JPG
- We hope to be able to reuse this old unit that Charlie picked up when the previous owner was done with it.
http://wiki.cs.earlham.edu/images/4/44/Dirty_unit.JPG
- Our first task was giving the unit a good power washing.
http://wiki.cs.earlham.edu/images/b/b7/On_truck.JPG
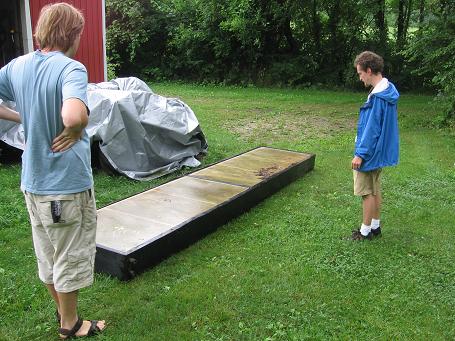
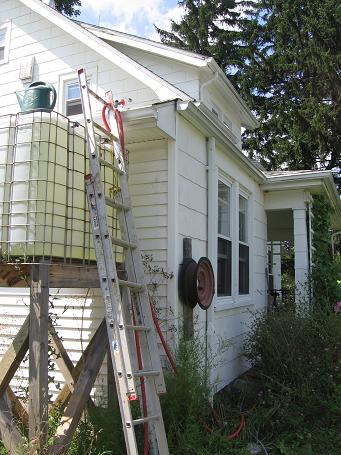
- Then we needed to transport the 14 foot beast from The Ranch to The Farm.
http://wiki.cs.earlham.edu/images/b/bc/Dry_dock.JPG
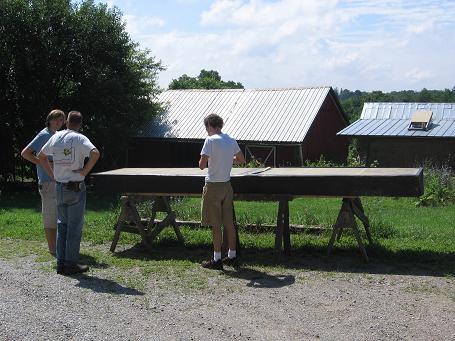
- Set up for minor solar hot water heater surgery.
http://wiki.cs.earlham.edu/images/0/08/Unit_interior.JPG
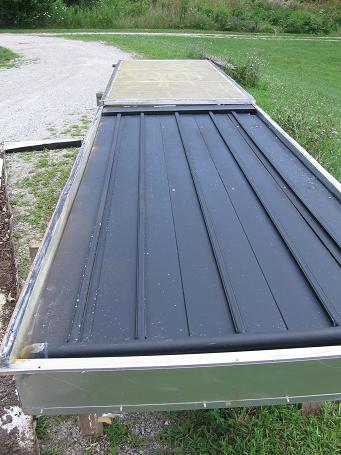
- Once we removed the discolored plastic faceplates, the inside appeared to be well preserved!
First Day of Setup
- To test the effectiveness of the solar hot water heater we set up a lab that would allow us to measure the effectiveness of the solar hot water heater in converting solar energy into a rise in water temperature.
http://wiki.cs.earlham.edu/images/5/50/The_barrel.JPG
- For the lab we used this barrell to house the copper coils that will transfer the heat from the water running through the solar hot water heater to the water that would normally be used in the household.
Note: For the lab the heated water just stays in the barrell.
http://wiki.cs.earlham.edu/images/9/92/Kate_cuts_barrel.JPG
- To put the copper coil inside we had to cut it open. (We would take more care to seal it back up if this wasn't our test run.)
http://wiki.cs.earlham.edu/images/a/a9/Making_copper_coil.JPG
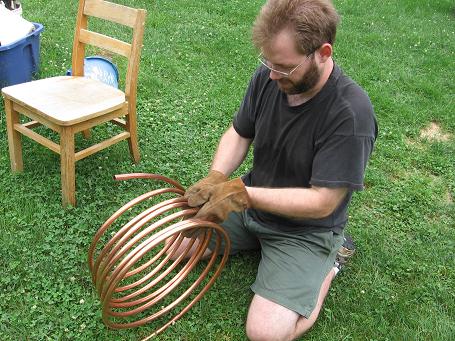
- Ehren carefully worked with our soft copper tubing.
http://wiki.cs.earlham.edu/images/4/45/Bending_copper.JPG
- He even managed to avoid any dreaded kinks!
http://wiki.cs.earlham.edu/images/5/5e/Copper_coil.JPG
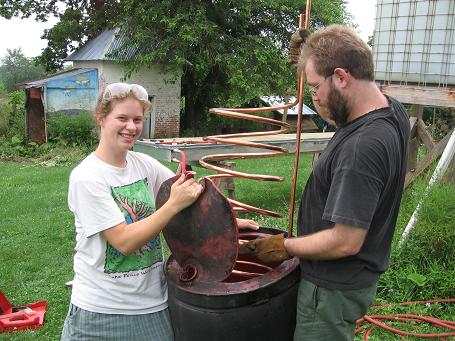
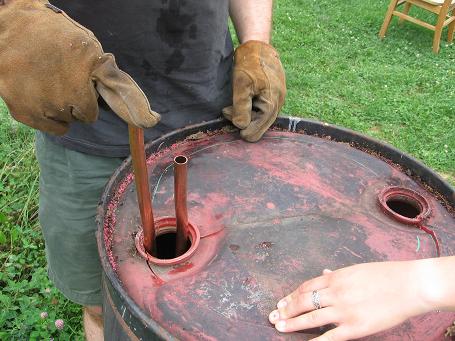
- Both the input and the output ends were bent up to the top so they would prodrude from the barrell.
http://wiki.cs.earlham.edu/images/0/04/Coil_insertion.JPG
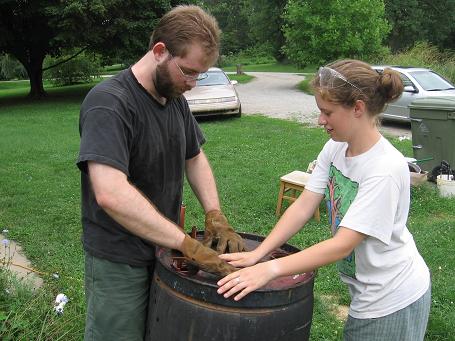
- We hold open the top of the barrell (part of which is still attached) and place the coils inside.
http://wiki.cs.earlham.edu/images/3/36/In_out_barrel.JPG
- "Remember guys, this one is the input and that one is the output"
http://wiki.cs.earlham.edu/images/4/49/Taped_down.JPG
- Meanwhile: The plastic panels have been duct taped back onto the solar hot water heater. This prevents rain water, etc. from getting in.
http://wiki.cs.earlham.edu/images/b/bf/Sealing_the_lid.JPG
- We duct tape the top of the barrell too.
http://wiki.cs.earlham.edu/images/e/ec/Sweat_prep.JPG
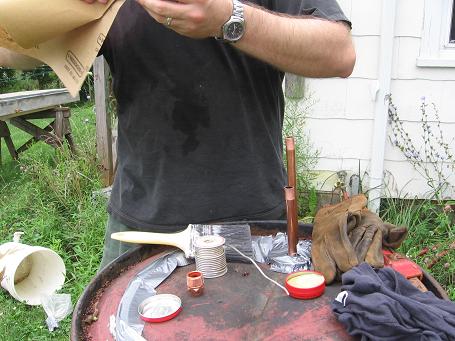
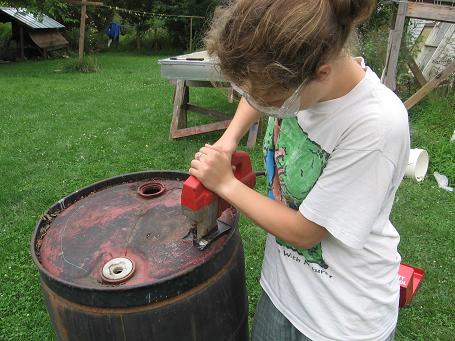
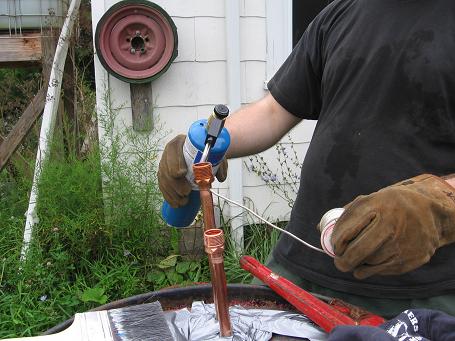
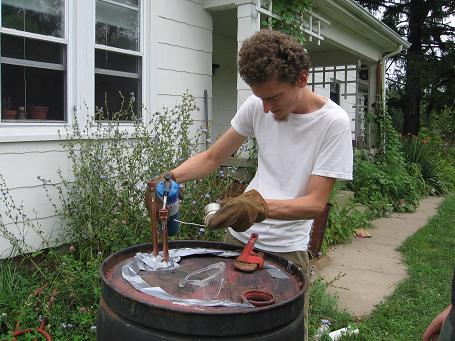
- Ehren ( who has seen someone sweat pipes before) prepares the tubing by sanding off any dirt.
http://wiki.cs.earlham.edu/images/5/52/Mister_sandman.JPG
http://wiki.cs.earlham.edu/images/9/92/Flux.JPG
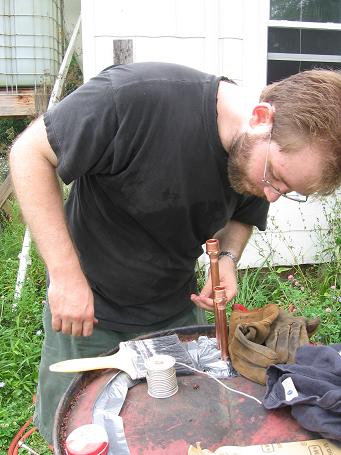
- Flux is applied.
http://wiki.cs.earlham.edu/images/5/57/Heating_it_up.JPG
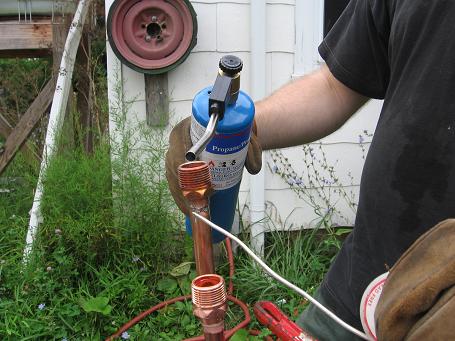
- First the fitting and pipe are heated up.
http://wiki.cs.earlham.edu/images/f/fb/Sweating.JPG "Once they are quite hot the solder is added.
http://wiki.cs.earlham.edu/images/b/b3/More_sweating.JPG
- The solder sweats up between the tubing and the fitting.
http://wiki.cs.earlham.edu/images/f/f1/Colin_sweats.JPG
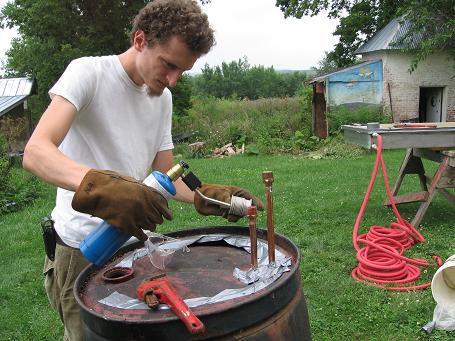
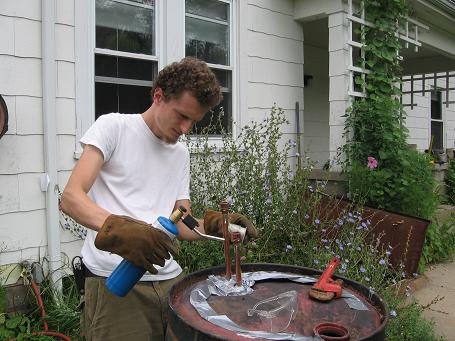
- Colin also sweats!
http://wiki.cs.earlham.edu/images/a/a6/Colin_is_still_sweating.JPG
http://wiki.cs.earlham.edu/images/4/46/Colin_sweats_some_more.JPG
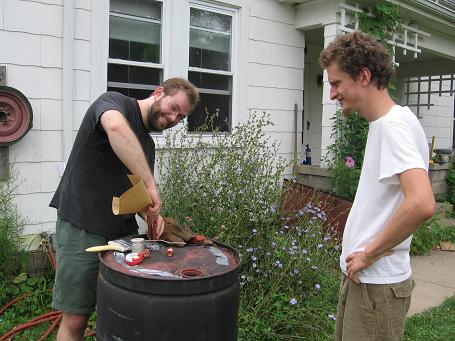
- Horrah! Both are successfully sweated!
http://wiki.cs.earlham.edu/images/b/b7/Unit_hose_connect.JPG
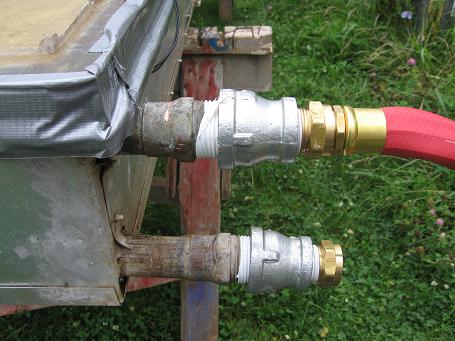
- We used teflon pipe tape to seal our connector fittings. These connectors allow us to attach our hose to our hot water heater.
http://wiki.cs.earlham.edu/images/4/4f/Hooking_up_hose.JPG
- Colin and Kate work together to securely attach the hoses.
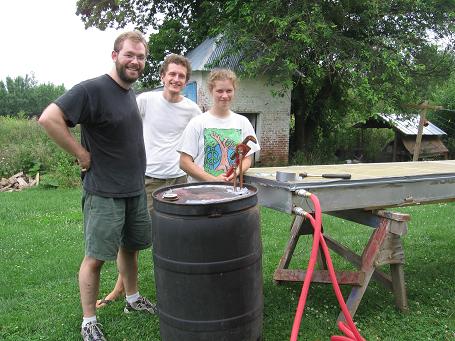
http://wiki.cs.earlham.edu/images/0/0a/Proud_workers.JPG Hey, we accomplished a lot today!
Second Day of Setup
http://wiki.cs.earlham.edu/images/2/21/Dan_gets_down.JPG
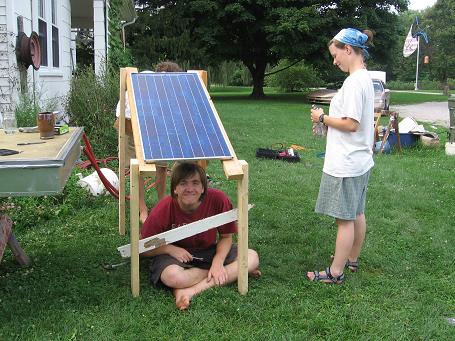
- We build a temporary stand for our pv panel.
http://wiki.cs.earlham.edu/images/4/46/Under_the_panel.JPG
- We discover that an ideal angle for our latitude this time of year is 20 degrees. We roughly build our stand at this angle.
http://wiki.cs.earlham.edu/images/5/55/Colin_checks_for_a_pulse.JPG
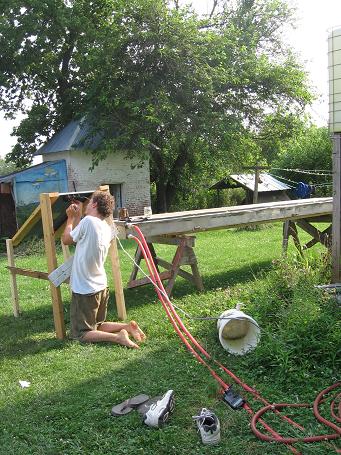
- Colin checks the votage.
http://wiki.cs.earlham.edu/images/7/78/Kneeling_before_the_sun.JPG
- Here he hooks up the 10# wire to the panel. The other end will be attached to our water pump.
http://wiki.cs.earlham.edu/images/b/b2/Show_me_the_power.JPG
http://wiki.cs.earlham.edu/images/a/a3/Where_the_hose_goes.JPG
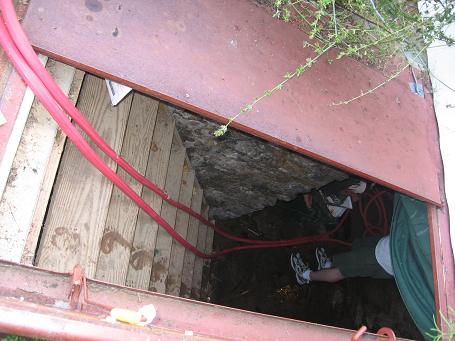
- Our hoses and wire run into the basement where the barrell and pump are.
http://wiki.cs.earlham.edu/images/a/a7/Into_the_darkness.JPG
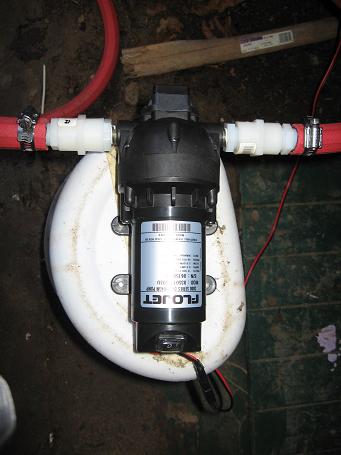
- Ehren and Dan work on mounting the electrical box which will supply the power from the PV panel for the pump.
http://wiki.cs.earlham.edu/images/0/04/Junction_box.JPG
- They attach an adaptor that allows us to plug in our pump.
http://wiki.cs.earlham.edu/images/4/43/The_dungeon.JPG
http://wiki.cs.earlham.edu/images/a/ad/Pump.JPG
http://wiki.cs.earlham.edu/images/5/52/Basement_setup.JPG
http://wiki.cs.earlham.edu/images/1/15/Bleeder.JPG
- Our pump is hooked up and the system is ready to be filled with water.